

When I was a kid, half of the fun after a trip was getting a giant stack of photos back from the store. Digital cameras mean near-instant gratification now, but I find that sometimes our photos end up languishing in iPhoto.
So today's Friday 10 is all about ideas for what to do with your travel photos. I didn't include a lot of DIY projects this time around. I just wanted to show some simple ideas for making the most of your photos and memories.

A before and after of one of my Ottawa photos using Pixelmator. Some croping and color correction goes a long way, even for a beginner.
#1 Fix
Take some time to go through your photos and treat them with the love and respect they deserve. Crop out any odd stuff and do some editing. Get creative. This is a chance to relive your trip a little, too.
If you're not comfortable with editing, take a look at Skillshare for online classes. I've been taking Tyler Brown's "Photo Editing Basics: Make Good Images Great without Expensive Software." I haven't finished the course yet, but I've already learned a lot. What's great is that you don't need expensive software, and he shows you how to do everything on multiple programs.
What can you use to edit? Your computer probably has a basic photo management application already (like iPhoto on Mac), but it's nice to have more features. Photoshop is the gold standard, but it's expensive, even with the new $29.99/month Creative Cloud option. I highly recommend Pixelmator ($29.99) for Mac as an alternative. GIMP is a free option, but I found the learning curve was steeper and, therefore, more frustrating than Pixelmator.
Some other options:
- Snapseed (free) for iOS, and Android
- PicMonkey (online) free and paid
- Aviary for iOS and Android
#2 Backup
Even though I back up my computer regularly, I always feel like I need to have a separate, safe space for photos. External storage is pretty cheap these days, whether it's an external hard drive or a USB key. But it's also worth check out some cloud options like DropBox, iCloud (for Apple users), Box, and Onedrive (from Microsoft). These can be great for sharing with family and friends, too.
#3 Print
Whether it's from your local photo shop, big box store, or online, it's so easy to print photos now and it seems like we do it less and less. You can even have Instagram photos printed by companies like Impressed and Printstagram these days. I don't do this nearly enough and I really miss flipping through physical photos. Theres nothing quite like having a hard copy to frame or put in a scrapbook or display (like on this wood block from Artifact Uprising) to me.

DIYed photo canvases from our Villefranche trip
#4 Transfer
I love a simple DIY project, so after I saw this tutorial from A Beautiful Mess, I decided I needed to make three canvases for my dad's birthday one year. It was a nice way to put some photos to use in a unique, personal way. I find that a lot of professionally printed canvases are expensive and look a little too perfect. The ones I made have little imperfections and scratches that give them character.
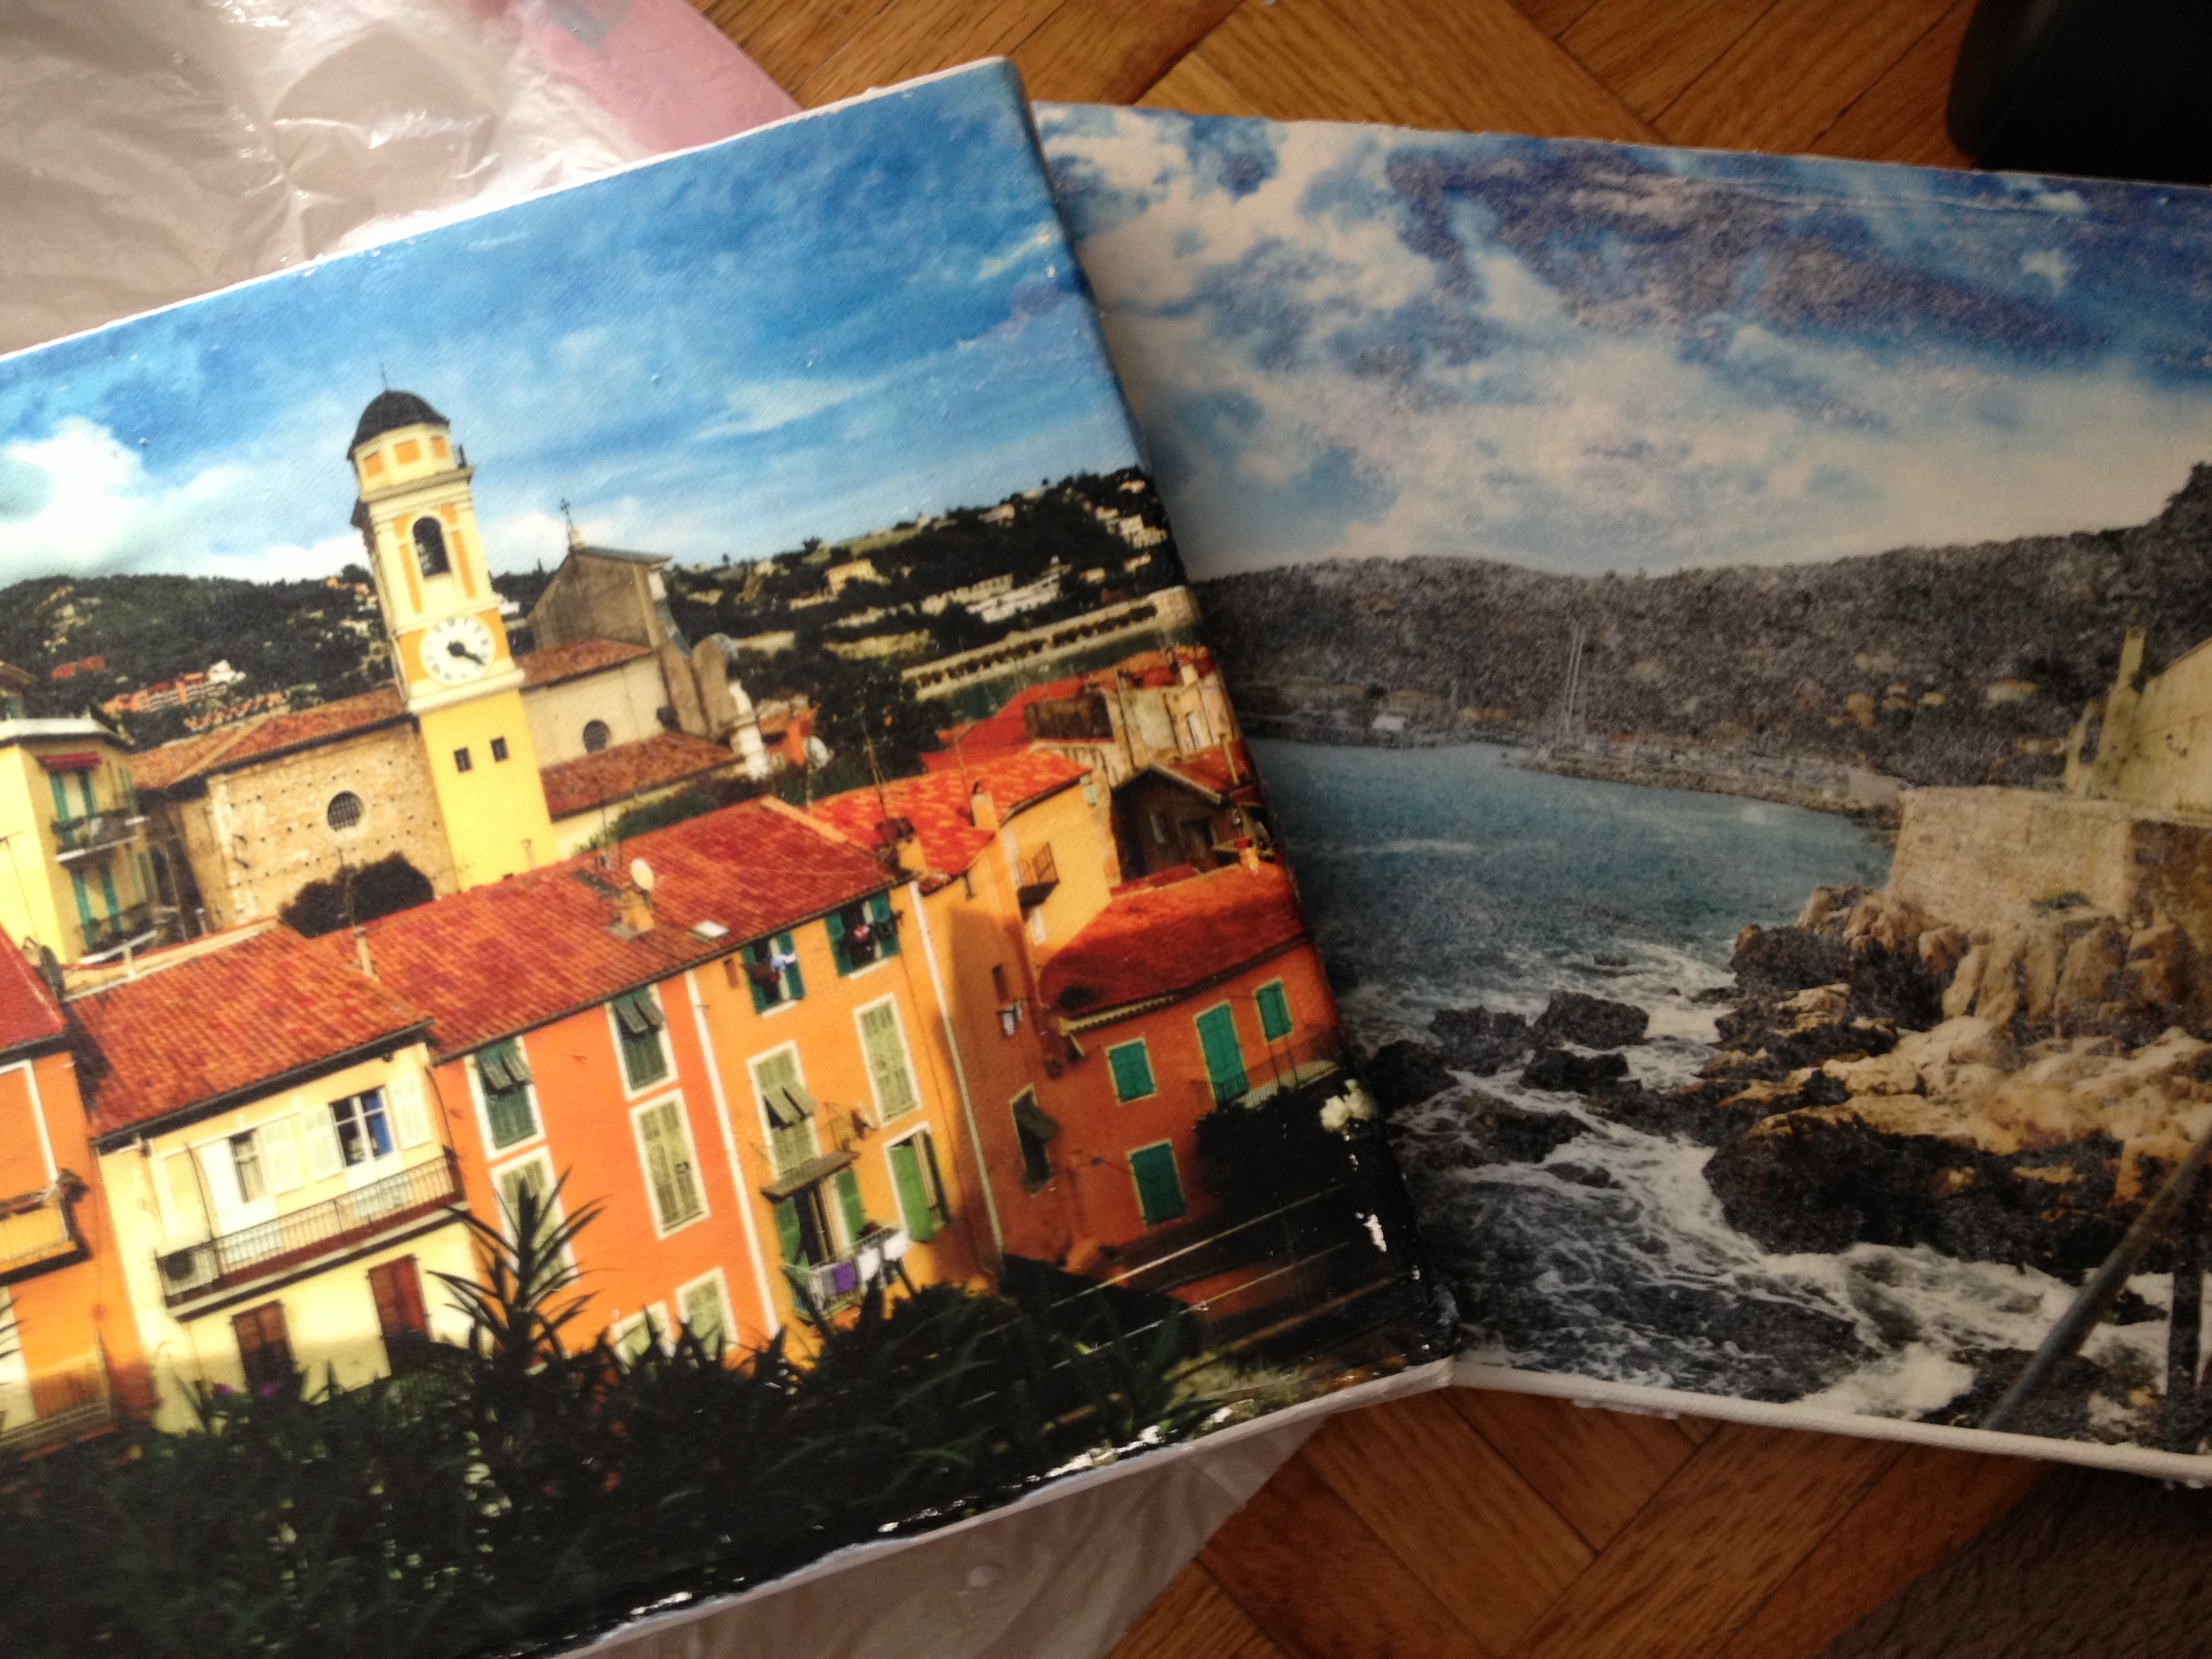
The middle of the transfer process takes lots of rubbing to get the paper off, but it's fun to see the final product being revealed.
I've seen other tutorials for glass and ceramic transfers as well. It would be neat to take some simple vases and put an interesting landscape like these on them using Lazertran paper.
Or, if you're not a crafty person, you can have it done for you by a professional. A lot of online and box stores like Walmart, Shutterfly, and Costco all do canvases. But I really love, for example, this custom wooden box from Artifact Uprising for holding photo prints or other precious items.

#5 Business or Calling Cards
I know it might seem outdated, but I still like the idea of calling cards. I used some of my favorite photos to make my Histoire Travel business cards through Moo. They are beautiful, professional quality, and whenever I give one out, I let the person choose their favorite from a selection. It gives me an idea of what they like and acts as a conversation starter.

One of our photo books from MyPublisher
#6 Make a book
There are so many options out there now for beautiful, custom photo books. My dad is actually the one who got me interested in photo books. He always spends a ton of time editing photos and creating a lovely book after trips. He almost always uses MyPublisher and often gets a great buy one get one deal.
I've been falling for everything at Artifact Uprising lately (as you might have noticed throughout the post) and their books are no different. They have lots of super stylish choices, so I think I will try them out soon.
I also stumbled across Albums Remembered while looking for high-quality photo books for our wedding and engagement photos that will stand the test of time but don't cost thousand(s) of dollars. Their books are a bit different because they flush mount and use photographic paper on thick pages. I think they would make a great luxe option for those extra-special trips and travel photos.
#7 Stationary
How about sending notes and thank-yous with your favorite photos instead of generic ones from the store?
One options is custom postcards like these from Artifact Uprising and these from Moo. Not only are they great to send, but I love the idea of displaying them, too. I've been planning on putting the postcards I've collected on some twine with mini clothes pins near my desk after being inspired by Young House Love's postcard shelves. Theirs is a little more polished looking, but the twine great for apartment dwellers!
Another option is getting folded cards from an online printer like Catprint or Vistaprint. I recently used Catprint for stationary and loved their customer service and products. I find the quality of their paper is higher than Vistaprint (you can order a free sample from each to compare choices) and they offer a free hard copy proof if you need one.

Artifact Uprising | Wood Calendar | $28.99 USD
#8 Calendar
Artifact Uprising's custom wood calendar is my favorite option. It's simple, beautiful, a nice size, and really showcases the photos.

Cocograph | Prices vary depending on size and volume. One 2 oz piece is $14, 3 bite sized (0.5 oz) pieces are $12, and 25 bite sized (0.5 oz) pieces are $87.50
#9 Chocolate
Put your photos on chocolate with Cocagraph. 'Nuff said.

Pottery Barn | Gallery in a Box | $126-$299 USD
#10 Gallery
I love a good gallery wall. Depending on how much you like to search, it can be fun to buy up single frames at stores and antique markets. We went the easy route and bought a Gallery in a Box from Pottery Barn for our trip photos. It came with different layout suggestions and paper templates of each frame. We taped the templates on the wall to see how they looked, poked a hole in the paper with a pencil to mark where the hanger needed be hammered in, and had the frames up in no time. It took all of the guesswork out of the process.
Bonus: Take better photos
Skillshare just launched a School of Photography where you can take classes and learn from pros about how to take better photos whether its landscapes, cityscapes, or food photography. The classes are affordable ($9.95/month or free for your first 30 days) and you can go through them on your own time. I've been loving their offerings so far.
What do you do with your photos? Let me know in the comments!
Have a happy weekend!


